ES-7 CV Input Expander
If in doubt, ask.
User Manual
Installation
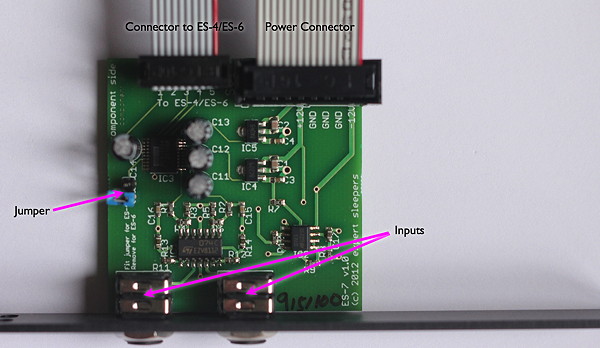
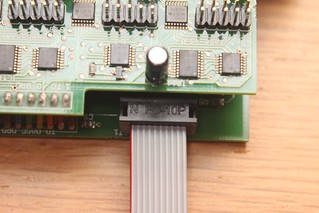
House the ES-7 in a Eurorack case of your choosing. The power connector is Doepfer standard. If using the power cable supplied with the ES-7, the connector is keyed and will only insert into the ES-7 the correct way round, in which case the red edge of the cable is nearest the edge of the PCB, and carries -12V. ("-12V" is marked on the PCB itself next to this end of the connector.) Be sure to connect the other end of the power cable correctly, again so -12V corresponds to the red stripe on the cable.The ES-7 also needs to be connected to either an ES-6 module or an ES-4 module. In either case, connection is via the supplied 10-way cable to the header on the ES-6 or ES-4 PCB (see images below).
ES-6: 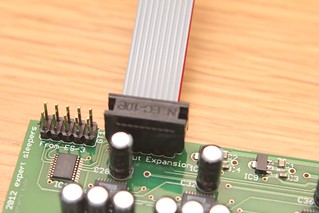
ES-4: 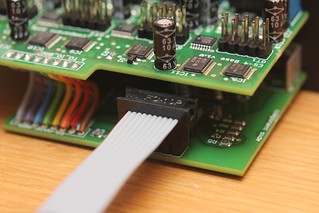
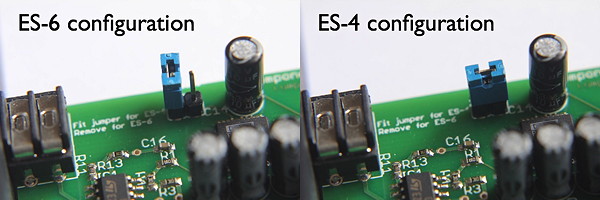
Jumper
There is one jumper on the ES-7 PCB. From the factory, the link is supplied unfitted, in which configuration the ES-7 is suitable for use with an ES-6. If used with an ES-4, the jumper link needs to be fitted. Refer to the image below.