User Manual
Overview
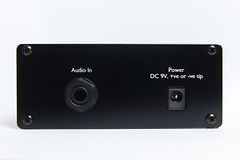
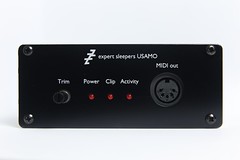
The USAMO has a power socket and an audio input on the back; on the front is a 'Trim' knob, three status indicator LEDs, and the MIDI output socket.
Software
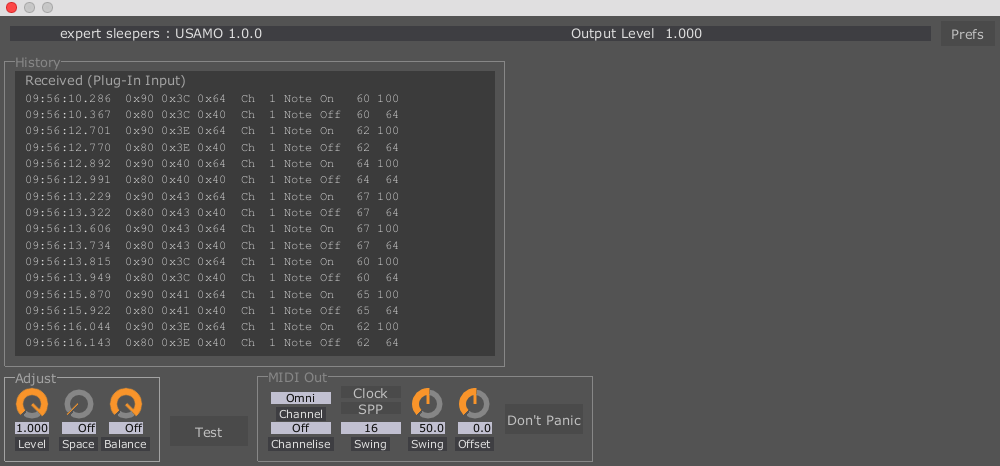
Use of the USAMO requires the USAMO software, which you can download from here. The software has its own user manual which covers installation and activation, and contains a reference description of the plug-in controls. You are recommended to read the software manual before proceeding further.
Power
The USAMO requires an external 9V DC power supply. This is not included with the USAMO. Such PSUs are readily and cheaply available from e.g. Amazon, and chances are you already have one. Anything for example that will power a standard guitar stomp box will work fine.
The PSU should have a 2.1mm barrel socket, and can be positive or negative tip. The USAMO draws negligable current (about 7mA) so that's unlikely to be a concern.
Connect the PSU to the socket on the back of the USAMO. The LED labelled 'Power' should come on when power is supplied.
Audio Connection
The audio input is a standard 1/4" jack socket, and will accept balanced or unbalanced jack plugs. Connect this to an output of your computer's audio interface using a standard audio cable.
MIDI Connection
The MIDI socket on the front of the USAMO is its output. It is a standard MIDI socket and will supply "MIDI bus power" (even though such a thing is a total abuse of the MIDI standard and is discouraged).
Indicators
The 'Power' LED has already been mentioned. The remaining two LEDs are 'Clip' and 'Activity'. 'Clip' lights when the incoming audio signal is above a nominal level. 'Activity' lights when something is being sent out of the MIDI output. In normal use, these two LEDs will flicker pretty much together.
Controls
The USAMO has only one control, a knob labelled 'Trim'. This adjusts the unit's decoding of the incoming audio, and should be "set and forget" for a given audio interface.
Setup and Test
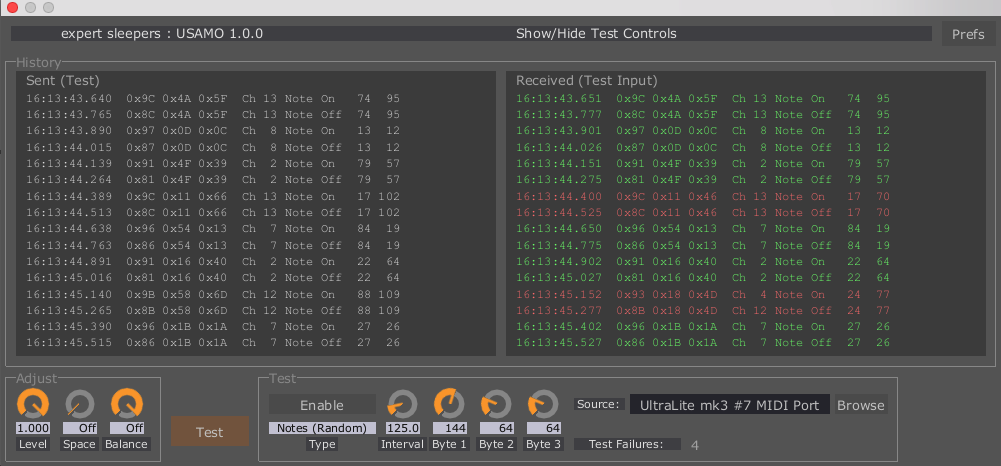
Please read the section on the Test functionality in the software user manual before proceeding. Also, please refer to the USAMO compatibility page to see if there are any notes specific to your audio interface.
To set up the USAMO, follow these steps:
- Connect a PSU.
- Connect an audio cable from your audio interface.
- Connect a MIDI cable from the USAMO to an input on another MIDI interface connected to your computer.
- Turn the USAMO on.
- In your DAW, load the USAMO plug-in.
- Assign the output of the track containing the plug-in to the hardware output channel that you used in step 2.
- Engage test mode in the plug-in.
- Select the input MIDI port in the plug-in.
- If necessary, adjust the audio signal level so that the Clip LED on the USAMO flashes dimly along with the test MIDI messages. Most decent audio interfaces put out a suitable level with all track faders, virtual mixer faders etc. set to 0dB.
- Adjust the Trim knob on the USAMO until the test history in the plug-in shows all green.
- Now you can disengage test mode, unplug the MIDI cable from the test input, and connect it to whatever you want to send MIDI to from the USAMO.
Start with the Trim knob in the 12 o'clock position. This is close to optimal for almost all setups.
When adjusting the trim knob, if the test history is showing a lot of errors, it may be necessary to stop and restart the test messages (with the 'Enable' button in the plug-in) to allow the test to resynchronise.
A very few audio interfaces have phase-reversed outputs, in which case the USAMO will not work at all. Inserting a phase-inverting plug-in after the USAMO plug-in fixes this. Such plug-ins are standard in most DAWs - e.g. the Utility plug-in in Ableton Live. This phase-reversed case is rare, but if you're getting absolutely nowhere it's worth a try.


